How to Replace Refrigerator Water Filter: A Simple Guide
- Better Homes Appliance Repair

- Jun 29
- 4 min read
Keeping your refrigerator’s water filter fresh is one of those small tasks that can make a big difference. Clean water tastes better, and a properly working filter helps keep your appliance running smoothly. If you’ve never replaced a refrigerator water filter before, don’t worry. I’m here to walk you through the process step-by-step, making it easy and stress-free.
Why You Should Replace Refrigerator Water Filter Regularly
You might wonder, why bother replacing the water filter at all? Well, over time, filters get clogged with impurities like sediment, chlorine, and other contaminants. This buildup reduces water flow and can even affect the taste and safety of your drinking water.
Most manufacturers recommend changing the filter every 6 months, but this can vary depending on your water quality and usage. If you notice your water tastes off, the ice maker slows down, or the water dispenser flow weakens, it’s a good sign your filter needs replacing.
Regular replacement also helps prevent damage to your refrigerator’s internal components. A clogged filter can cause strain on the water system, leading to costly repairs down the line. So, swapping out your filter on time is a simple way to protect your investment.

How to Replace Refrigerator Water Filter: What You Need to Know
Before you start, it’s helpful to know a few basics about your refrigerator’s water filter. Most filters are located inside the fridge, either in the upper right corner or behind the grille at the bottom. Some models have a push-button release, while others twist out.
Here’s what you’ll need:
A replacement water filter compatible with your fridge model
A towel or small container to catch any drips
Clean water to flush the new filter
Make sure to check your refrigerator’s manual or the manufacturer’s website to find the exact filter type. Using the wrong filter can cause leaks or poor water quality.
Replacing your filter is a straightforward task, but it’s important to follow the right steps to avoid damage or leaks. If you’re unsure, you can always call a professional for help.
How do you replace the water filter in a refrigerator?
Now, let’s get to the heart of the matter - replacing the water filter itself. Here’s a simple step-by-step guide:
Locate the filter: Open your fridge and find the water filter. It’s usually in the upper right corner or behind the bottom grille.
Turn off the water supply: This step isn’t always necessary, but it’s a good precaution to avoid spills.
Remove the old filter: Depending on your model, either twist the filter counterclockwise or press the release button to pull it out.
Prepare the new filter: Remove any protective covers or caps from the new filter.
Insert the new filter: Push the new filter into place or twist it clockwise until it locks securely.
Flush the filter: Run water through the dispenser for about 3-5 minutes to clear out any air and loose carbon particles.
Reset the filter indicator: Many refrigerators have a filter change indicator light. Follow your fridge’s instructions to reset it.
That’s it! You’ve just completed a refrigerator water filter replacement. It’s easier than you might have thought, right?
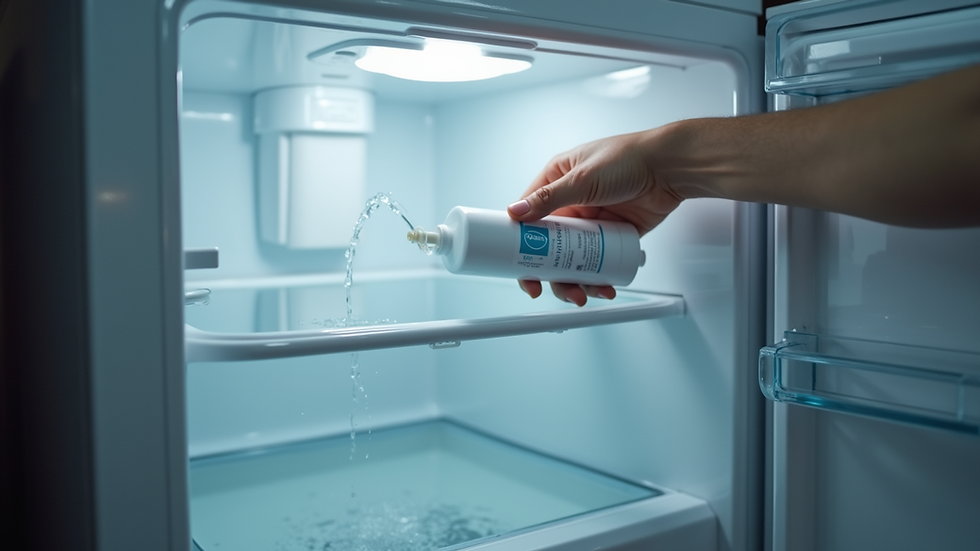
Tips for Maintaining Your Refrigerator Water Filter
Replacing the filter is just one part of keeping your fridge’s water system in top shape. Here are some tips to help you maintain it:
Mark your calendar: Set a reminder every 6 months to check and replace the filter.
Use quality filters: Stick to filters recommended by your refrigerator’s manufacturer.
Check water pressure: Low water pressure can affect filter performance. If you notice issues, check your home’s water supply.
Keep the fridge clean: Regularly clean the water dispenser and ice maker to prevent buildup.
Watch for leaks: After replacing the filter, keep an eye out for any drips or leaks around the filter area.
By following these simple steps, you’ll enjoy fresh, clean water and extend the life of your refrigerator.
When to Call a Professional for Help
Sometimes, even with the best instructions, things don’t go as planned. If you experience any of the following, it might be time to call in an expert:
Water leaks that don’t stop after replacing the filter
Water dispenser or ice maker not working properly
Difficulty removing or installing the filter
Unusual noises coming from the water system
Professional appliance repair services can quickly diagnose and fix these issues. They have the right tools and experience to handle tricky problems safely and efficiently.
If you live in Pinellas, Hillsborough, or Pasco Counties, Better Homes Appliance Repair is ready to help with fast, reliable service. They’re known for building lasting customer relationships through quality work and honest advice.
Enjoy Fresh Water with Confidence
Replacing your refrigerator water filter is a simple task that pays off in better tasting water and a healthier appliance. Whether you do it yourself or call a professional, staying on top of this maintenance helps you avoid bigger problems down the road.
If you want to learn more about the process or need assistance, check out this helpful guide on refrigerator water filter replacement. Taking care of your fridge’s water system is easier than you think - and your family will thank you for it!


Comments